Showing posts with label svgcuts. Show all posts

Wednesday, June 11, 2014

School is out, Summer camp is coming, SVGcuts at FCCB


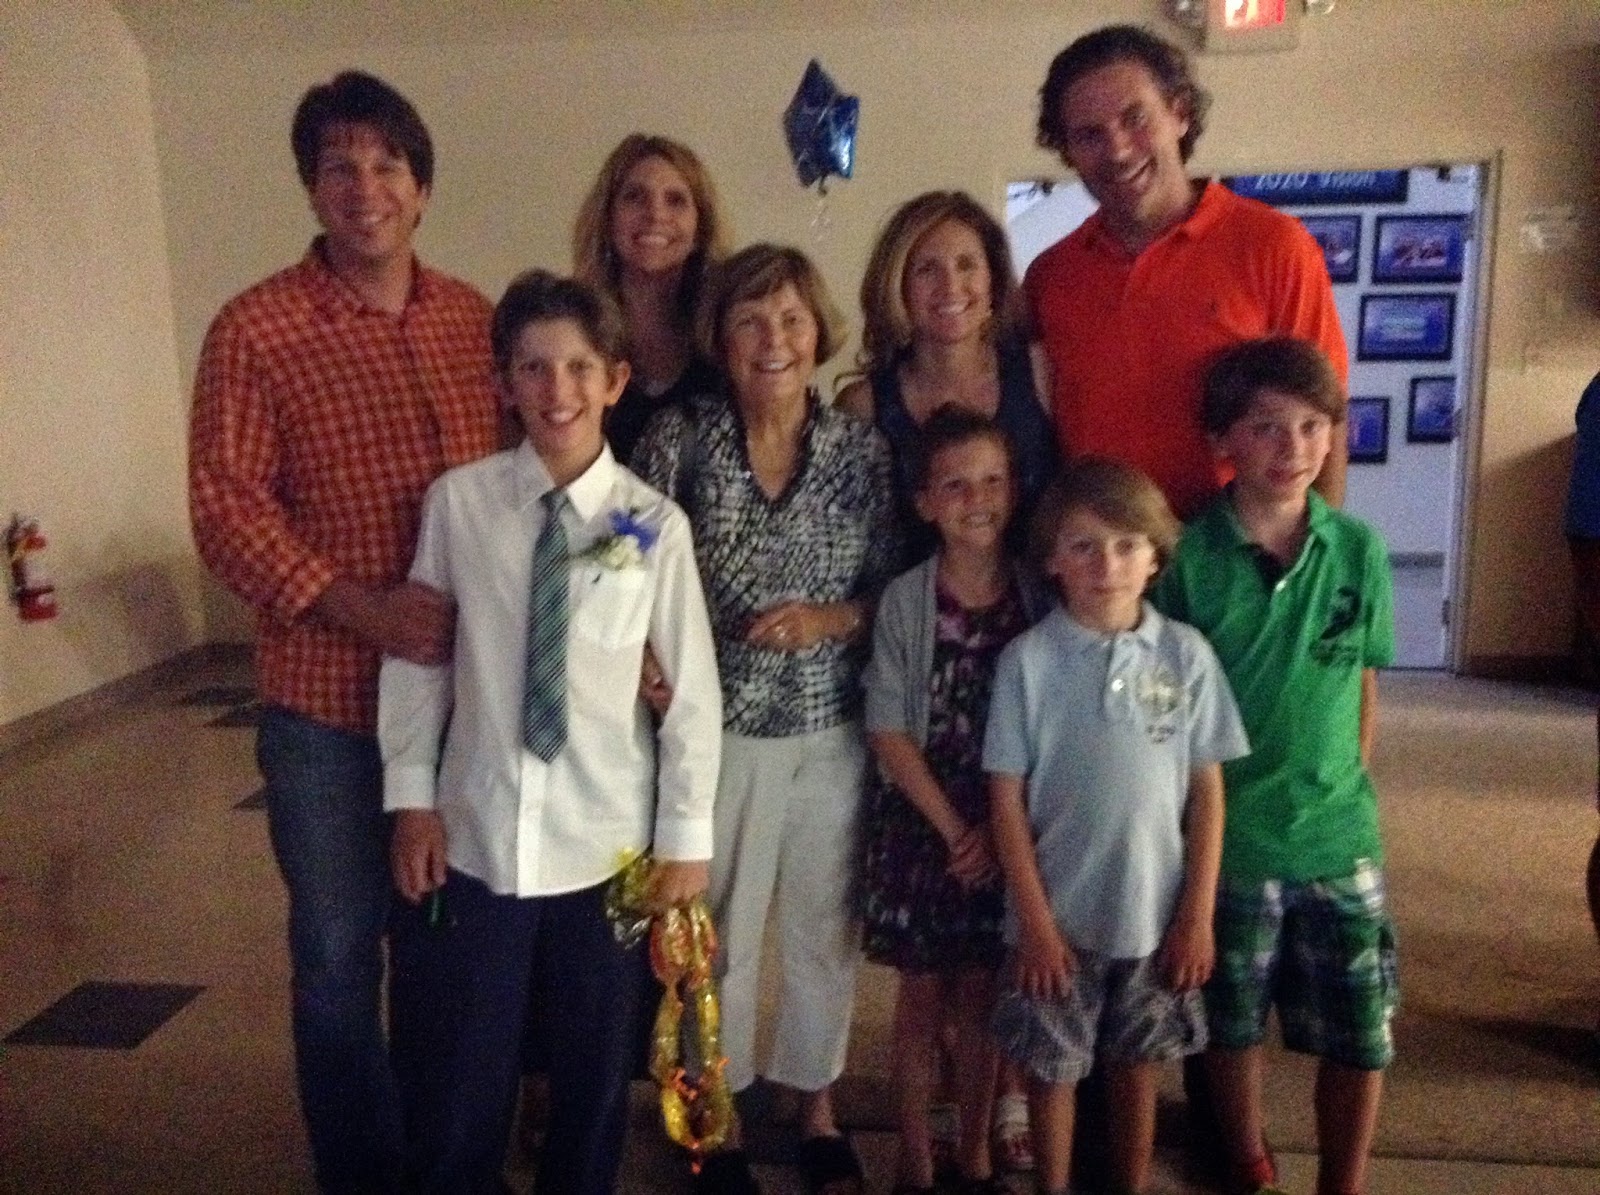
Worst picture ever - darn florescent lighting!
My boy is a middle schooler, my baby is a 3rd grader and summer is here!  I am so relieved that the year is over and looking forward to camp which starts a week from Monday.  In the mean time we are going camping in our "new" (used) pop up camper and we have VBS.  as busy as that sounds, it feels like lazy summer days to me.

Of course my sister looks amazing but I was so busy getting everyone else ready, I'm disheveled and sweaty.
We are in the midst of the Celebrate Dad challenge at the Fantabulous Cricut Challenge Blog and this week's prize is
HUGE!
Our sponsor is svgcuts and they are giving away a $50 gift card and a Sizzix Big Shot.  This prize is valued at $125.  
 
Be sure to submit your Father's Day project here.  Remember to include at least 1 Cricut cut in your design.  If you are an Explore owner (or any die cut machine that works with svg files) and need some inspiration, visit svgcut's Father's Day section.  They have a bunch of collections specifically geared to celebrating Dad.  Use one of their projects as a starting point and customize it with a Cricut image!  Svgcuts is running an amazing promotion right now. Spend $9.98 or more and get this darling collection for free!


I know I sound like an ad for them, but I really am not on the payroll.  I am just addicted to their stuff and you know how I am... I get obsessed and I can't stop talking about it.

Friday, May 16, 2014

Svgcuts Tennis Shoe Made with Cricut Explore

Time is running out...Just 2 more days to submit your "Celebrate Mom" project to the Fantabulous Cricut Challenge Blog for a chance to win a $50 gift card from Svgcuts.com.

Speaking of Svgcuts, today's project comes from their "Back to the Books" collection.

Before I get started, I want to preface by saying this shoe was my first attempt at this project thus it had quite a few "learning opportunities" and I am posting it as a reference/ learning tool rather than a "Ta-Dah!!." 


I had wanted the shoe to be sturdy so I used very thin chipboard (actually the back page of a DCWV paper stack) for all of the white pieces of the design.  This was a mistake because the shoe requires malleable paper to hug the curves of the project.  As you can see in the photo above, the white areas around the bottom of the shoe are far to rigid to hug the sole like a real rubber would.


Surprisingly, I used scrapbook paper rather than cardstock on the exterior panels of the shoe and it laid down perfectly.  I had worried that the wet glue would cause dimples. My suggestion would be to use cardstock for the part labeled "shoe" (see below) and all other elements, but scrapbooking paper for the "shoe panels."


Manipulating the fold lines to create the unique shape of this shoe was very cool.  The designer of this project did an amazing job of creating fold lines in just the right way to get each curved angle.  Every time I matched up two tabs and the paper rounded perfectly, I was exhilarated... like I found a missing piece to a puzzle.


This is a such a fabulous project; you really have to buy this svg set!  I have it out on the desk and guests go right to it and say "did you make this?" Those 4 little words every crafter wants to hear!

Thursday, May 15, 2014

Summer Street Carnival from Svgcuts

  
I had so much fun making this wonderful project designed by Svgcuts.com. It was a huge undertaking because there are so many pieces.  It took 32 mats (28 pieces of cardstock) in all to create this 14 inch moveable ferris wheel.

Both the stand and the wheel are identical cuts stacked on top of one another so that they are durable enough to support the cars. The beams that hold each car and the center beam that holds the ferris wheel are cut from a painted wooden dowel.

Assembling the ferris wheel is relatively easy.  I used Scotch Quick Dry Tacky Adhesive so I was able to move rather quickly.  That said, adhering each of the ferris wheel layers was a little tricky because you have to apply glue on each and every section or else the naked areas will buckle taking away from the strength of the structure.  Applying glue on every surface quickly enough so that the beginning area isn't dry by the time you finish, is a challenge - especially with Scotch Quick Dry.  You have to move fast and be as accurate as possible and when you stack one layer on top of the other you have to be mindful of matching the edges because the glue might take hold before you are able to slide it into position.


A few tips from my experience:
  • The instructions say to cut the beams (from the dowel) 2 inches- I recommend 2.5.  2 inches is a little too snug so the cars don't swing smoothly.
  • Use chipboard for a couple of your supports and wheel cuts to add additional strength.
  • The size for the tickets strip (ticket bottom) is off on the pdf menu.  It says the strand should be 4.2".  This is way too short if you are going to put the other layers on top.  I cut mine at 11".  I suggest playing with them on your mat to make sure they fit correctly.
  • Ink your edges.  I didn't and wish I had.  I was able to sneak some ink on the car panels but I think that inking all of the elements would really make everything pop.

Tuesday, May 13, 2014

Svgcuts Inspiration


Svgcuts.com has a drop down menu entitled "Inspiration" and they are (literally) not kidding.  I was utterly blown away by the creativity I found there!

It never occurred to me to combine cuts from one design with another to make a customized project.  The Svgcuts Design Team and other crafters who post in the project gallery do it all of the time. There are also great idea articles on working with the various kits and instructions on Design Team projects.

If you are new to working with svg files like me, or even if you are a pro, you really have to pop over to get a glimpse of their marvelous creations!

Monday, May 12, 2014

Celebrate Mom Box Card

This week's challenge on the Fantabulous Cricut Challenge Blog is '"Celebrate Mom." The prize for this week's challenge is extraordinary - a $50 gift card to svgcuts.com! Woo hoo!

For my Design Team contribution, I did this fun Castle Box Card from svgcuts with the "Queen for a Day" caption from the Cricut cartridge, Once Upon a Princess.  Svgcuts' box cards are super fun to make and are SOOOOO easy.

If you are considering making a purchase at svgcuts.com, but are struggling with the selection, you might want to get this one. The bang for the buck cannot be beat and it literally takes 15 minutes to assemble.  And that is paper selection to envelope!

I also made this box card from the same collection.  I changed up the papers and added my own details to coordinate with the spirit of the recipient. I can see using this card for so many different occasions.

Stay tuned this week as I will have a different svgcuts project posted daily.  And don't forget to submit your "Celebrate Mom" project at Fantabulous Cricut Challenge Blog for a chance to win a $50 gift card to svgcuts.com