Tuesday, April 22, 2014

Egg Carton Floral Wreath Tutorial

I discovered this adorable craft on Pinterest which sent me to "This Little Life of Mine"- a wonderful blog packed with all kinds of information about raising a family and enjoying life.  I decided to teach this project to my Create and Innovate kids.  But before I ever teach a class, I have to give it a try myself. Below is a tutorial on this fun project.

First I had to get my hands on some egg cartons so I called our local breakfast hotspot "Bill's" and asked them to set some aside for me. Um, yes, I think this should cover it...

Then I cut out some of the individual cups and trimmed them into flowers.

Then I painted those flowers all sorts of pretty colors adding centers and accents to add some interest and texture.

I used my Cricut to cut out a wreath shape for the base.  I used poster board but it cut like butter because my Cricut Explore knew just what settings to use.

Once the flowers dried, I started laying them out on the template to figure out the best configuration.

I pressed each flower down so the petals spread out flat and used a glue gun to keep them in place.

I left an open space so I could add a colorful bow with wire trimmed ribbon and there you have it...my Spring Wreath sample to use for my class.

That evening I noticed that I had gotten acrylic paint on just about every article of clothing I had been wearing.  I guess I should have realized it this was going to happen since you paint both the inside and outside of the egg carton cup causing your hands to get covered no matter how careful you are.  This meant that I would HAVE to use tempera paint when I did this craft with the kids. Bummer. I think painting with tempera paint is a little like painting with pudding. 

So here are a few photos of the class making their wreaths.  It was, by far, the messiest project I have ever taught but the kids sure enjoyed it.

Monday, April 7, 2014

Cricut Cartridge -Create a Friend, Svgcuts.com and FCCB Challenge

This week's challenge on the Fantabulous Cricut Challenge Blog is called Spring Cleaning which asks you to create a project using a cut or a cartridge that you have never used before.  How fun is that?!

I have been infatuated with the relatively new Cricut cartridge "Create a Friend" (which is included with the $9.99 subscription to over 25,000+ Cricut Images) so I made this adorable little clown:

He consists of a lot of layers and colors - 9 if you cut via Cricut Design Space and 10 if you use the cartridge.

Just a side note...The gray shadow- see below (S+F+35) doesn't show up on the Design Space mat when you select the image via the subscription. I didn't even know it was an option until I started writing this post.  Because the balloons are not mounted onto the surface of my card (at the top), I wanted that extra support so when I assembled my little die cut, I welded the balloons and the black shadow (S+35) together to create a base of my own.

It is worth mentioning that I originally cut this clown at 3.5" but no matter what setting and material I tried (paper/ light cardstock/ cardstock), Cricut Explore was unable to cut the intricate details without tearing edges (I wasted a lot of paper on this one). The blade is near new, so dullness had nothing to do with it. When I bumped the size up to 4.0" however, my little clown cut fine.

Once I had my clown I had to figure out how to incorporate him into a card or layout.  After much deliberation, I decided to use him in a card I purchased from svg.cuts.

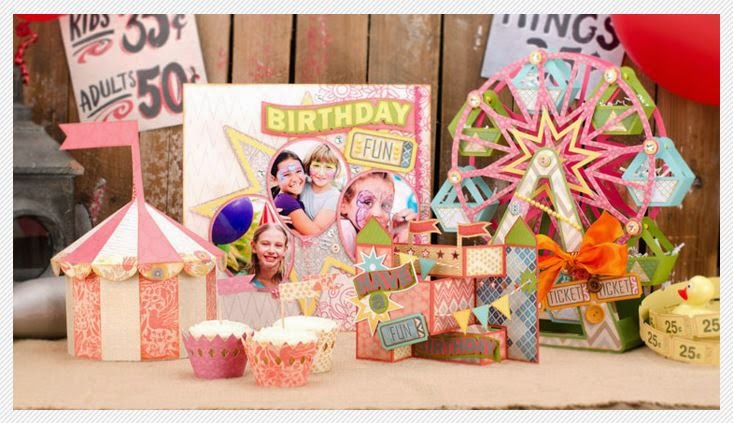
One of my favorite features on the Cricut Explore is that it allows you to cut svg files by uploading them into your Design Space image library.  I have purchased a number of svgcuts.com's project collections which I will showcase in future posts. The card above came with a collection called The Carnival Collection.

To learn how to upload svgcuts.com project files to Design Space and cut entire projects watch the video below.


Folding this card is a little tricky as it is not intuitive- it took me a good 20 minutes to figure it out the first time I folded it together.  I must have watched the folding portion on the assembly instructions a dozen times before I got it.

Ta-Dah! I adore the cute clown die cut from the Create a Friend Cricut cartridge and while it may be over-shadowed by the card design from svgcuts, the combination really came together well.  What will you do for your entry into the FCCB challenge?
This week's sponsor is Mark's Famous Paper and Stamps and the FCCB challenge winner will receive a Silly Shells Stamp Set. Give it a go - I hope you have as much fun as I did!!